Inventor |
Widget 3D PrintAfter 3D printing my widget, I learned many new things about inventor, different files, and MakerBot Desktop. After finishing your widget, you need to resave your file as an STL file. You then open up MakerBot and add your file there. Your widget shows up in a MakerBot simulation and you can then choose the orientation of how you want you widget printed. Being able to go to the printer and actually print it myself was a great experience. The 3D printing experience was very fun and I hope to do it again soon.
|
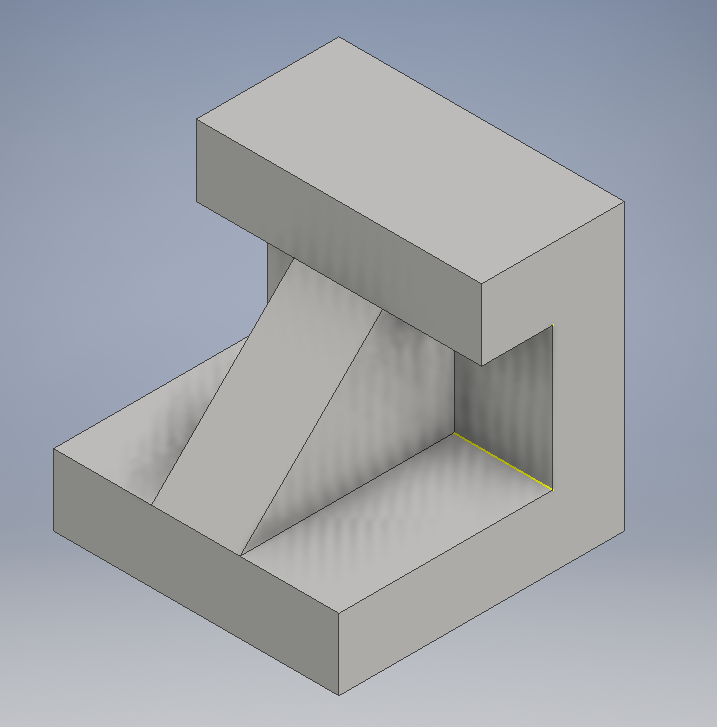
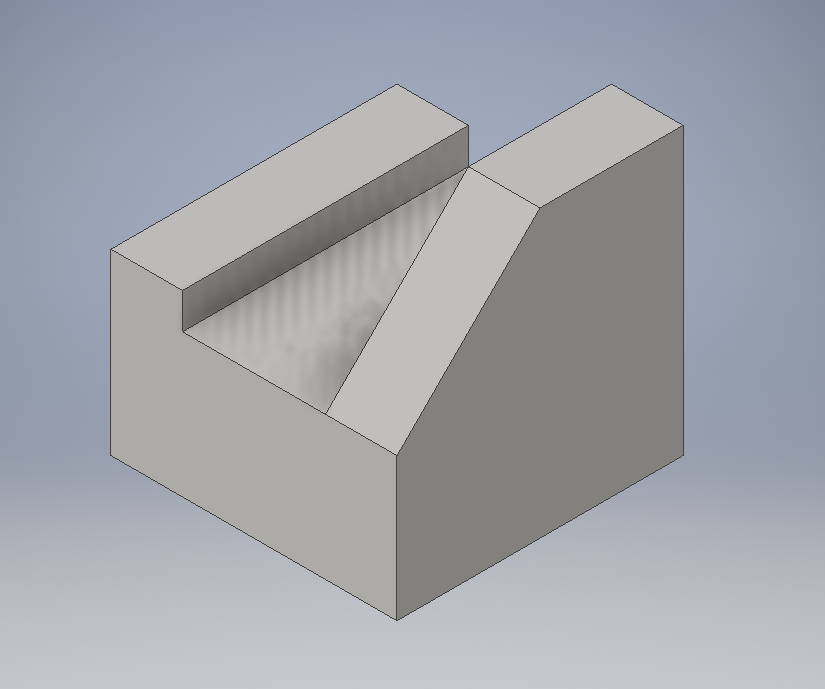
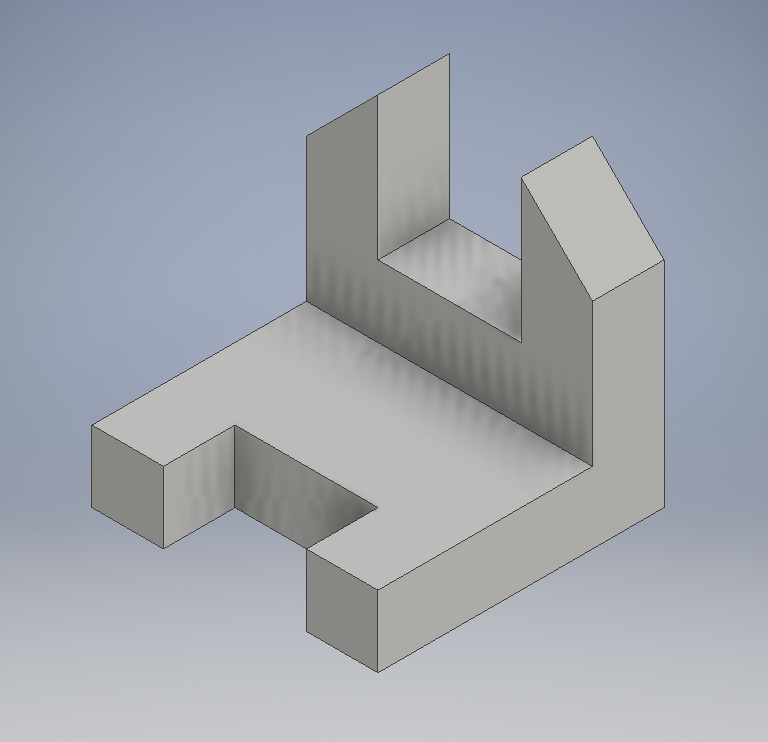
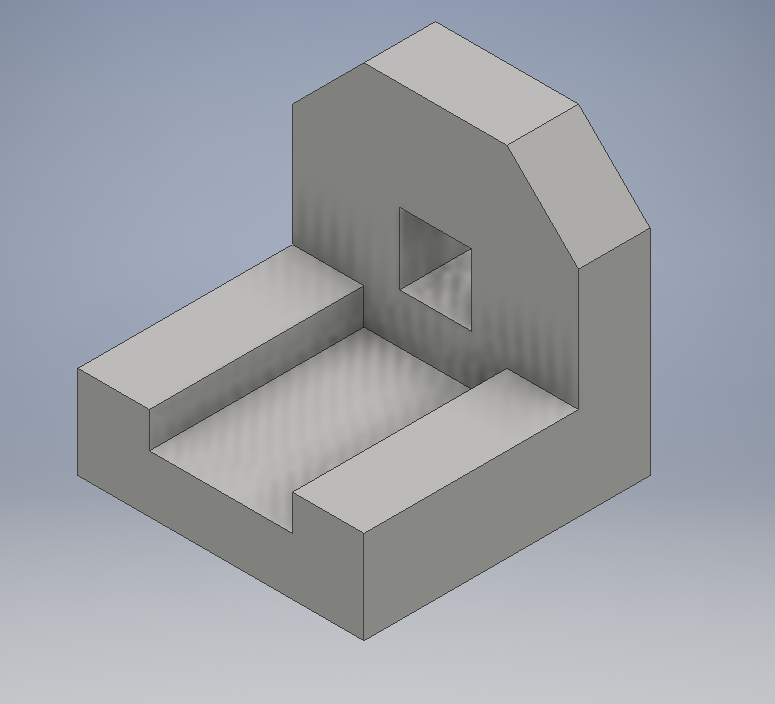
InventorInventor is a computer software that allows you to draw anything that you have an idea of. We were given the task of creating widgets, or practice creations, to build our understanding of how to use Inventor. Here are instructions on how to make this Z widget and below are the other creations.
1. Start a new 2D sketch in Inventor
2. Chose the plane that you want to work on 3. Chose line tool 4. Draw the rough shape of the object 5. Click the dimension tool 6. Click on each line, drag either up or to the side, click again and type in the dimensions (each line on the graph paper is .25 in) 7. After you dimension, click finish sketch 8. Click the extrude tool 9. Extrude whichever direction for 1 in and click ok 10. Finished product |